This page contains affiliate links. If you purchase through these links, we may earn a small commission at no extra cost to you. Full disclosure.
Plinko Drop Board
A single board, a grid of pegs, and a ball that bounces somewhere new every time. The friendliest introduction to probability — and later, to sensors and auto-scoring.
Jump to Materials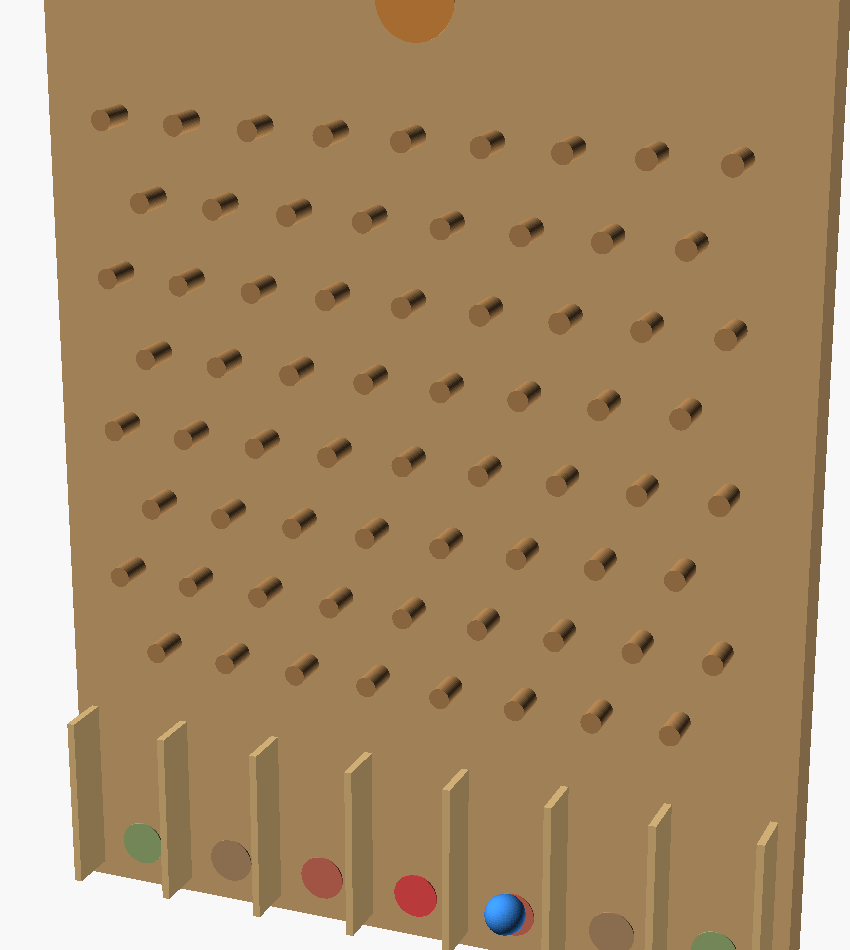
A single board, a grid of pegs, and a ball that bounces somewhere new every time. The friendliest introduction to probability — and later, to sensors and auto-scoring.
Probability and the bell curve, gravity and cause-and-effect, how sensors detect events (upgrade path)
Light supervision — ages 10+ can mostly self-direct
Materials List
Tools Needed
Adults handle the drill and any saw work. Children tap in pegs, glue dividers, paint, and play. The marble is a choking hazard for toddlers — keep it pocketed between games and away from under-3s.
What You’re Building
Drop a ball through a forest of pegs and let gravity decide where it lands. It looks like pure luck, but over many drops a beautiful pattern emerges: the centre bins fill up far more often than the edges. That’s the build’s secret lesson — the bell curve, discovered by hand.
One board, three age ranges: the very same board is a cause-and-effect toy for a four-year-old, a probability lesson for a ten-year-old, and a sensors-and-code project for a teenager. You only build it once.
Part of the One-Board Builds series — one board, no joinery, one real circuit.
Step-by-Step Instructions
Step 1: Mark & Drill the Peg Grid
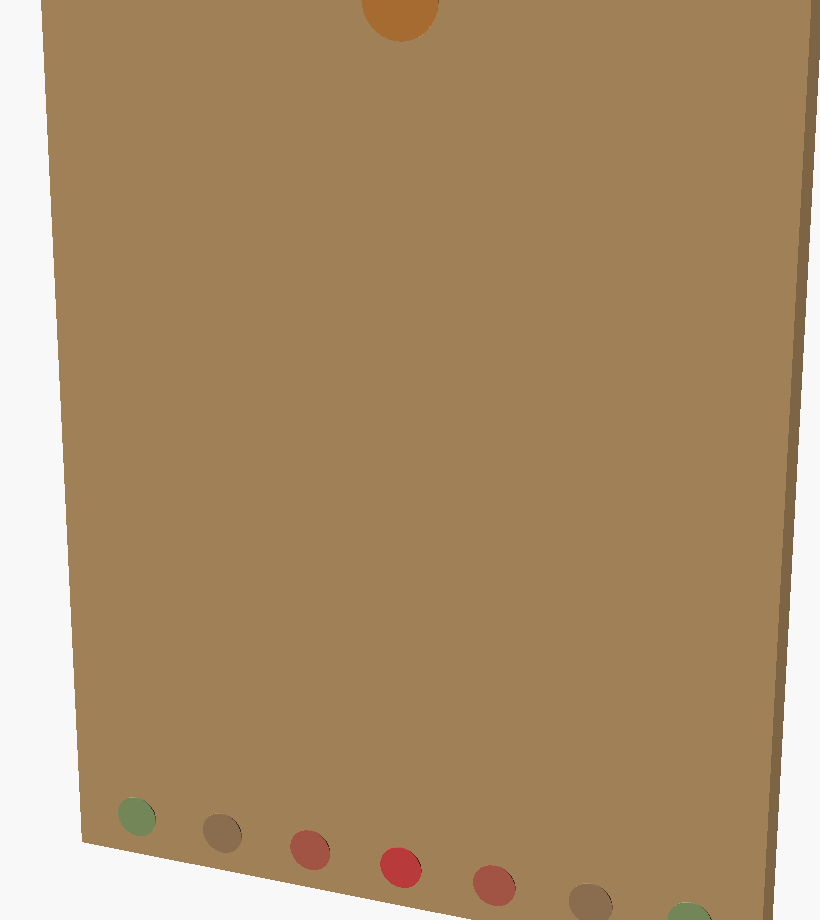
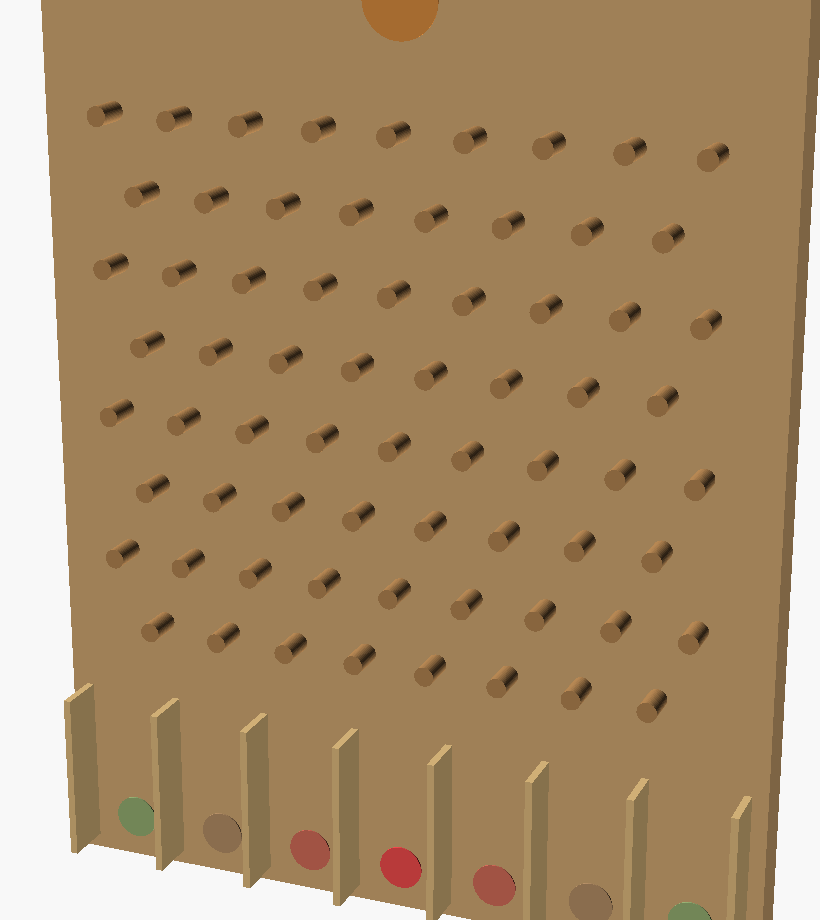
One upright board — 12 mm ply or a wide pine board, about 300 × 380 mm — is the whole playfield. Mark a staggered grid of dots (offset every other row so a falling ball always hits a peg) and an adult drills shallow holes. Cut a small notch at the top centre for the drop slot. Kids paint the scoring zones.
Step 2: Tap In the Pegs
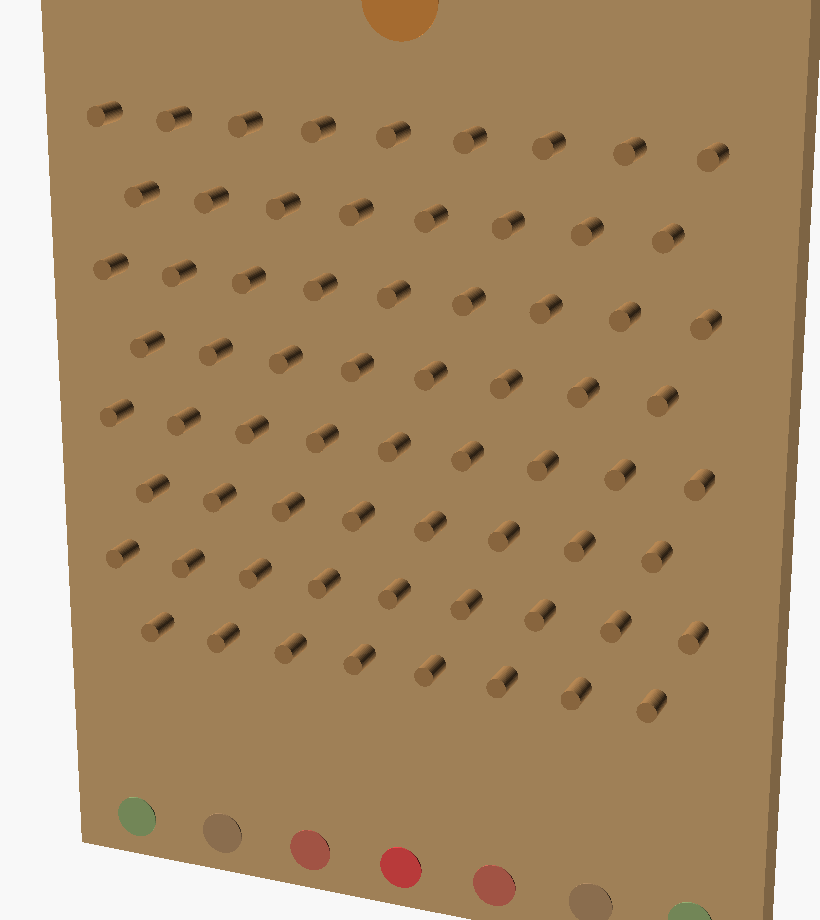
Glue a 6 mm dowel, golf tee, or panel nail into every hole so it stands proud of the surface. These are the bouncers — the more uniform the grid, the more satisfying the chaos.
Step 3: Add the Bin Dividers
Glue thin craft sticks upright along the bottom to make 7 catch bins. The narrow centre bin is hardest to reach — make it worth the most points.
Step 4: Drop the Ball & Finish
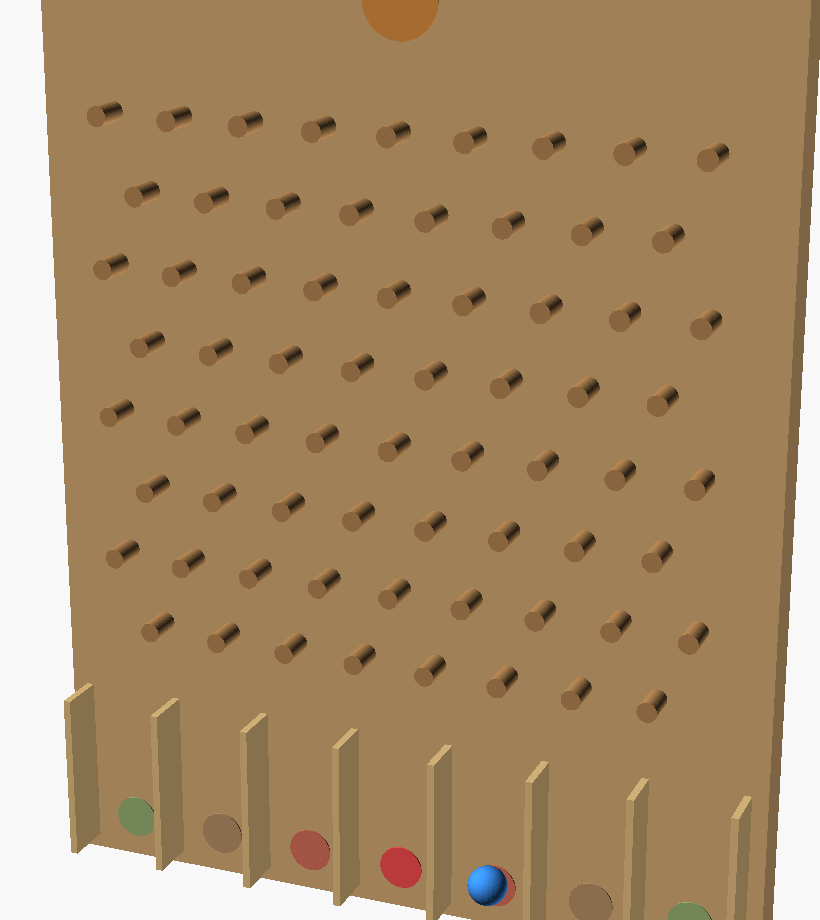
Lean the board back slightly, drop a marble or 16 mm steel ball in the top, and watch it pinball down. Seal the wood, and you’ve got a game that’s never the same twice.
Auto-Scoring Upgrade (Ages 11+)
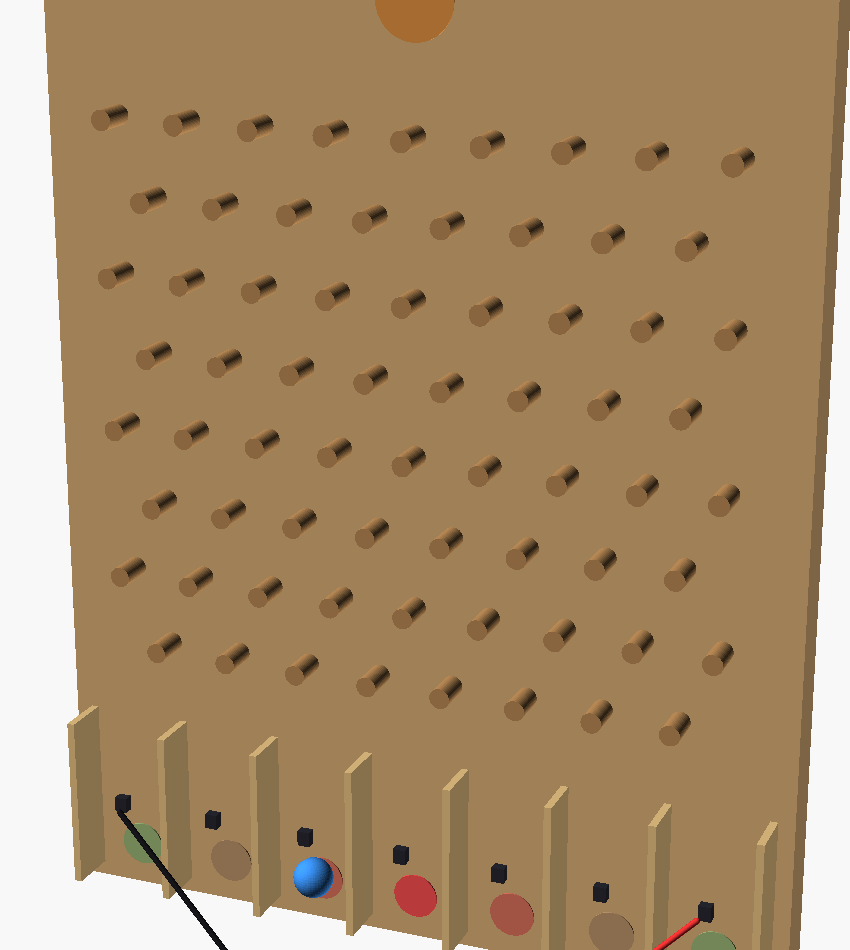
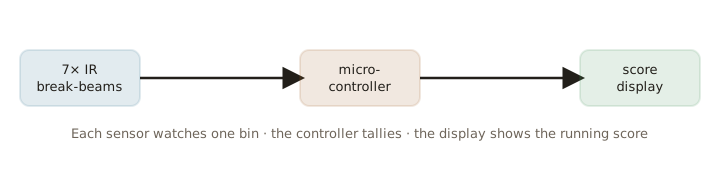
The basic board has no electronics at all. When the kid is ready to level up, an IR break-beam sensor over each bin tells a microcontroller which slot the ball fell into, and a little display keeps score automatically.
Make It Easier
- Ages 4–6 (just drop & cheer): No numbers, no scoring — colour the bins and shout out which colour the ball lands in. Pure gravity and delight.
Make It Harder
- Ages 7–10 (keep score on paper): Number the bins, drop 20 balls, and tally where they land. Graph it together and spot the hump in the middle — that’s the bell curve, discovered by hand.
- Ages 11+ (auto-scoring with sensors): Add IR sensors, controller, and display so the board tallies itself — a real electronics-and-code build on the same piece of wood.
Troubleshooting
| Symptom | Fix |
|---|---|
| Ball runs straight down one side | Rows aren’t staggered enough — offset alternate rows by half a gap so a ball can never miss a peg. |
| Ball flies off the board | Too steep a lean, or pegs too short. Lay it back a little and use taller pegs, or add a clear front cover. |
| Always lands centre | That’s the bell curve doing its job — but add more peg rows for more spread. |
What Your Kid Learns
Probability and the bell curve, gravity and cause-and-effect, how sensors detect events (upgrade path)