This page contains affiliate links. If you purchase through these links, we may earn a small commission at no extra cost to you. Full disclosure.
Electronic Dice
A chunky wooden block with seven LEDs in the classic pip pattern. Press the button and a random number glows — the build where 'random' stops being magic and starts being logic.
Jump to Materials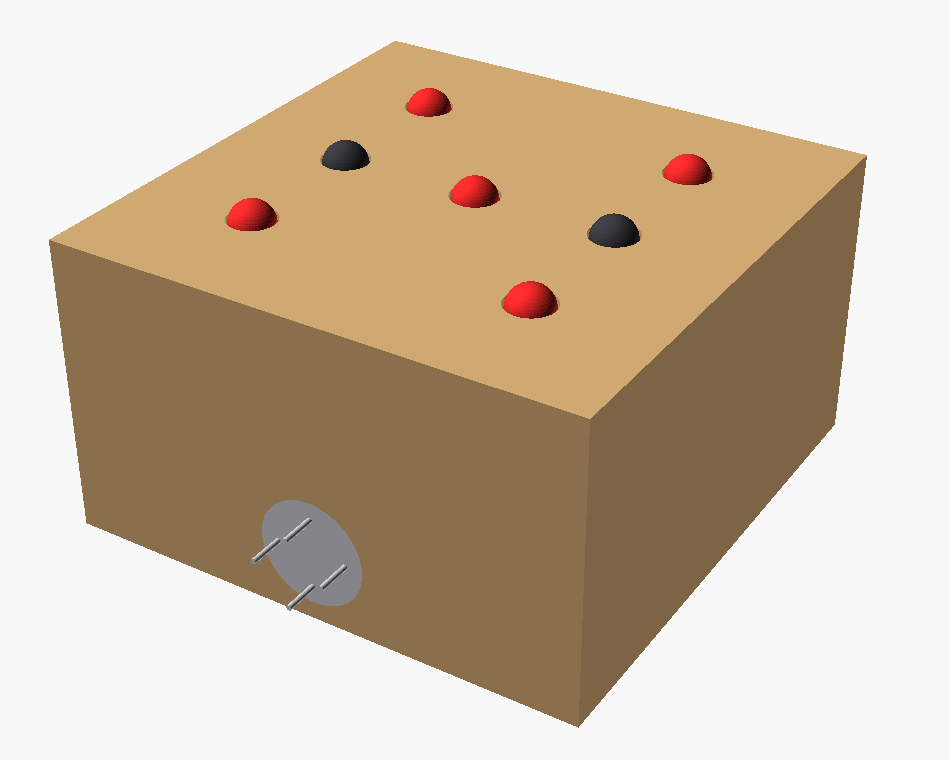
A chunky wooden block with seven LEDs in the classic pip pattern. Press the button and a random number glows — the build where 'random' stops being magic and starts being logic.
Randomness is buildable (chip cycling or code), mapping data to a display (binary-to-pattern thinking), soldering (kit path), variables and random() and loops (code path)
Active supervision recommended
Materials List
Tools Needed
An adult runs the soldering iron or works alongside, in a ventilated spot. Tinning, placing, and pressing parts are great supervised jobs for an 8+ builder. A swallowed coin cell can badly injure a small child — tape the holder shut and keep this build away from toddlers. A 2×AA pack is the safer choice in a house with little ones.
What You’re Building
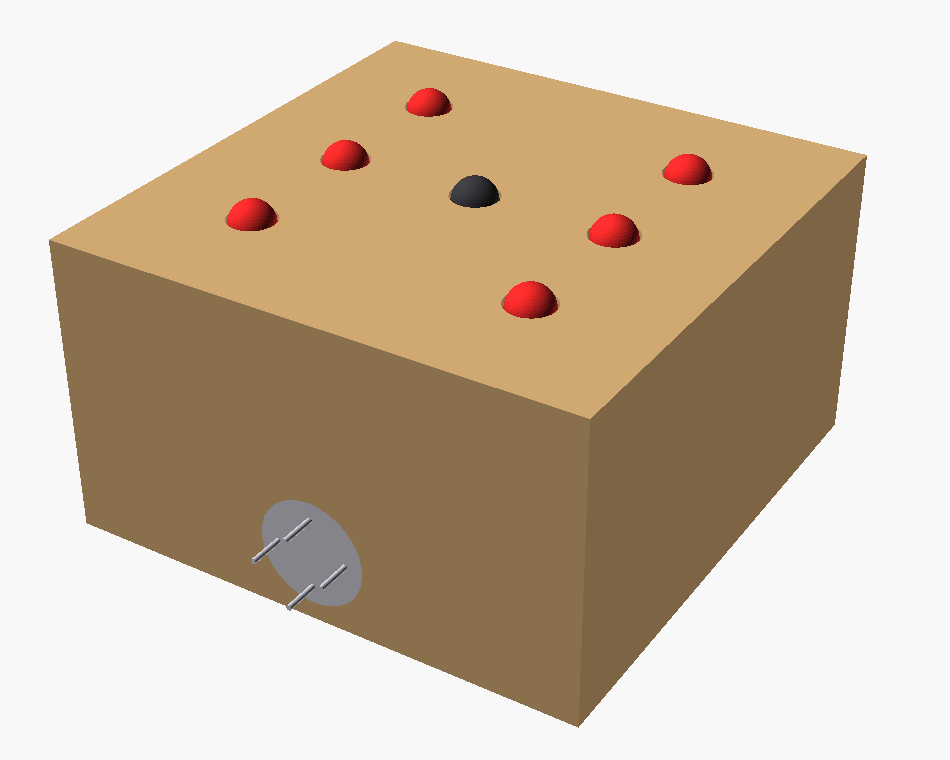
A solid wooden block that behaves like a die. Seven LEDs sit in the familiar pip pattern on top; press the button and the circuit picks a number from one to six and lights exactly the right pips. No throwing, no losing it under the couch.
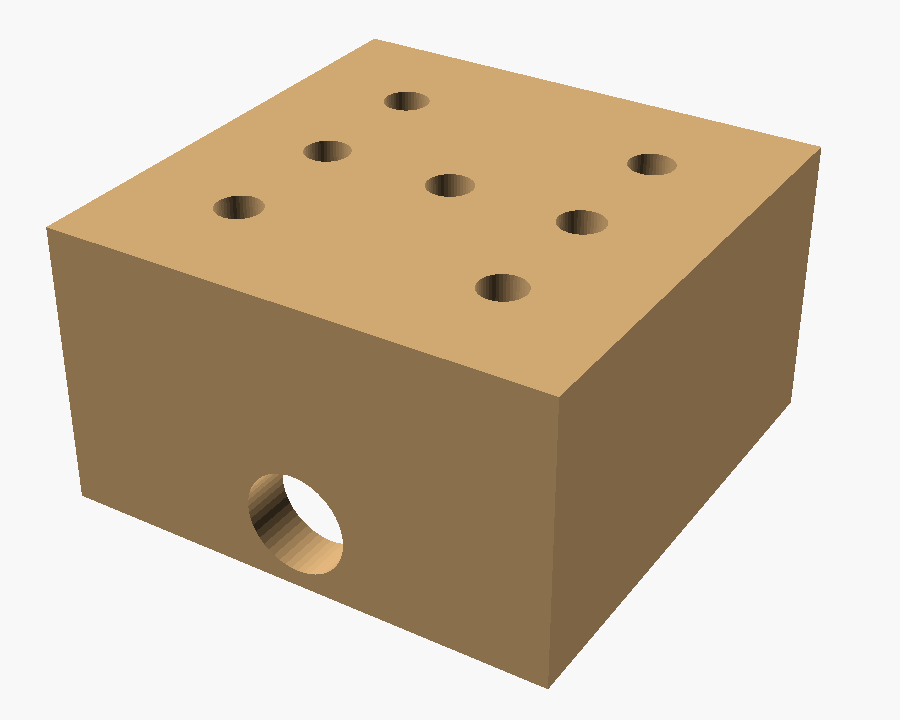
The body is a single chunky offcut, about a 60 mm cube. Holes go in the top for the pips; a pocket is hollowed underneath so all the electronics hide inside one piece of wood.
Part of the One-Board Builds series — one board, no joinery, one real circuit.
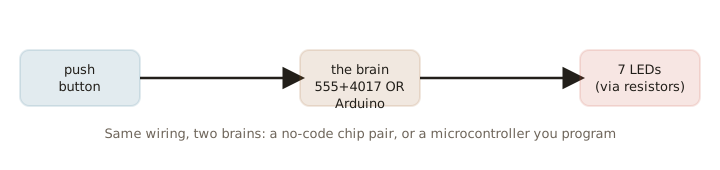
Two Paths: No-Code or Code
You get to choose the brain:
- No-code path: A 555 + 4017 chip pair solder kit. Press the button, the LEDs “spin” through numbers, release and it stops on one. Zero programming required.
- Code path: An Arduino starter kit. Older kids write
random(1,6)themselves and add roll animations.
Same wiring, two brains — pick whichever matches your kid.
Step-by-Step Instructions
Step 1: Cut the Block, Drill the Pips & Cavity
One thick offcut — a 60 mm cube from a 2×2 or a chunky scrap — is the entire body. An adult drills seven 5 mm holes on top in the dice pattern, a hole in the front for the button, and hollows a shallow pocket underneath for the electronics.
Step 2: Build the Circuit & Fit the Guts
Whether you use a solder kit or an Arduino, the guts are the same three things: a little board, a coin cell, and the push button. They all tuck into the pocket you drilled, with the button poking out the front.
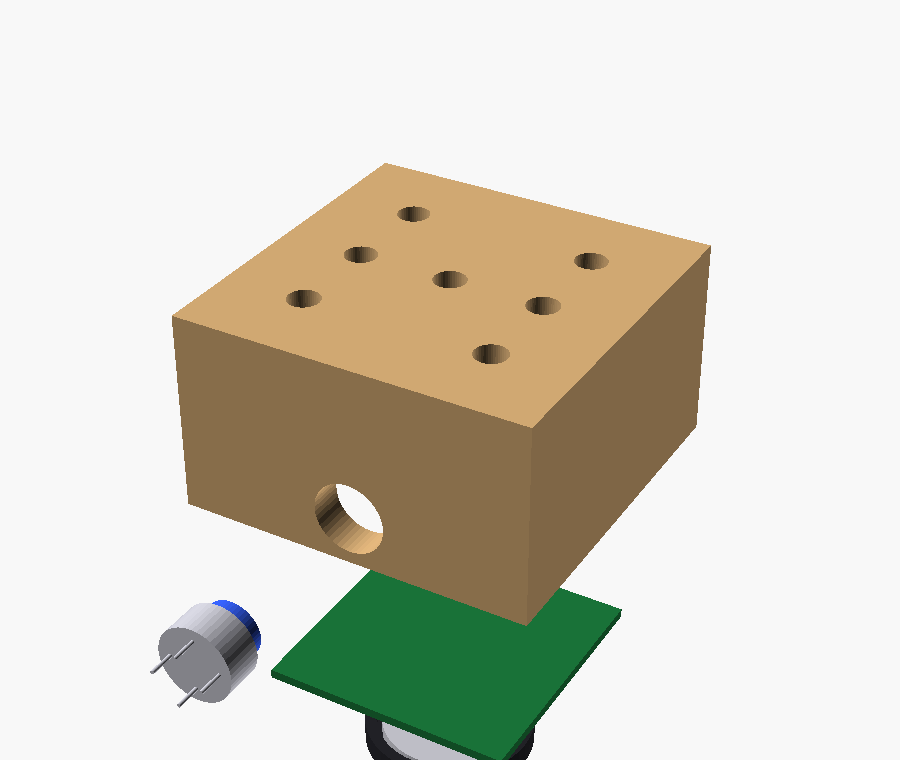
Step 3: Seat the LEDs & Close It Up
Push the seven LEDs up into their holes from inside, close the base, and press the button. A random number lights up on top — a real die that runs on electrons.
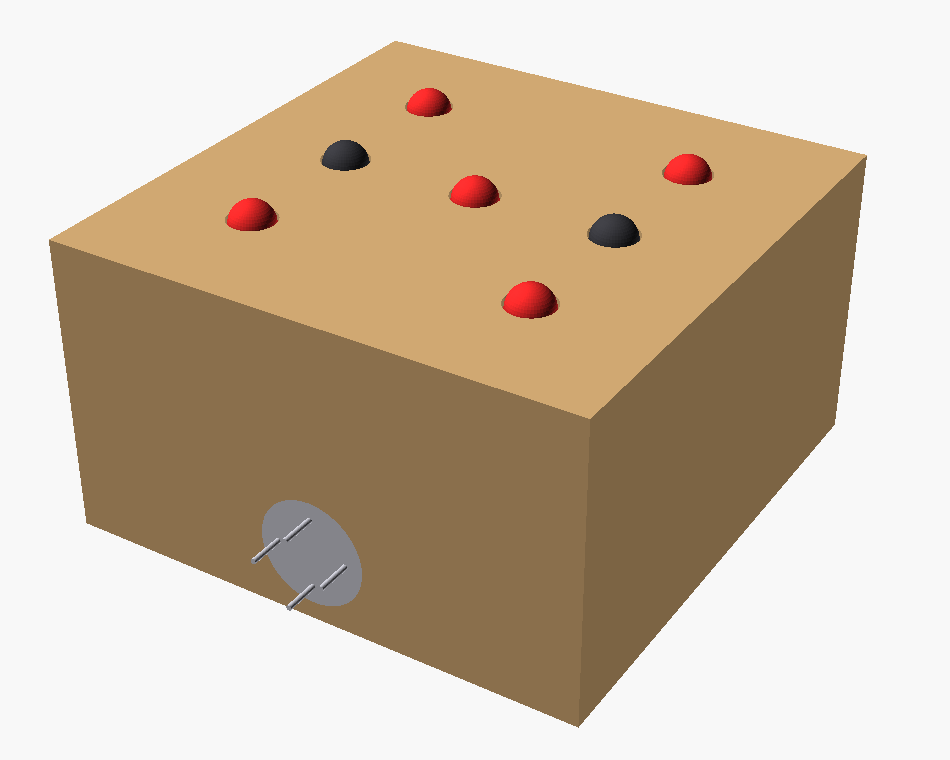
The Dice Faces
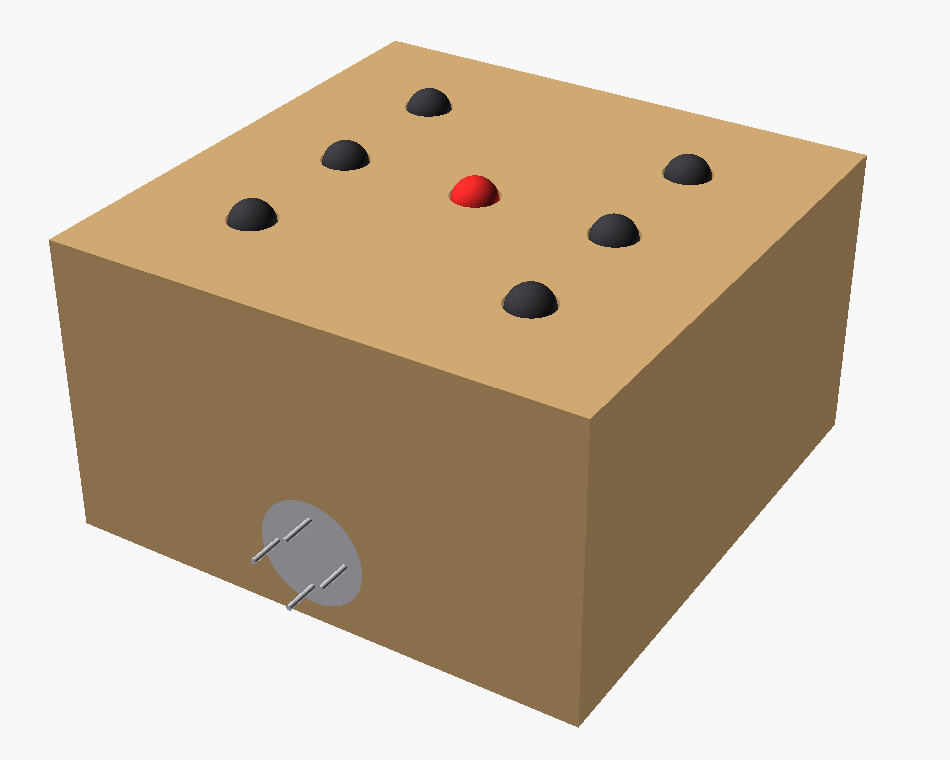
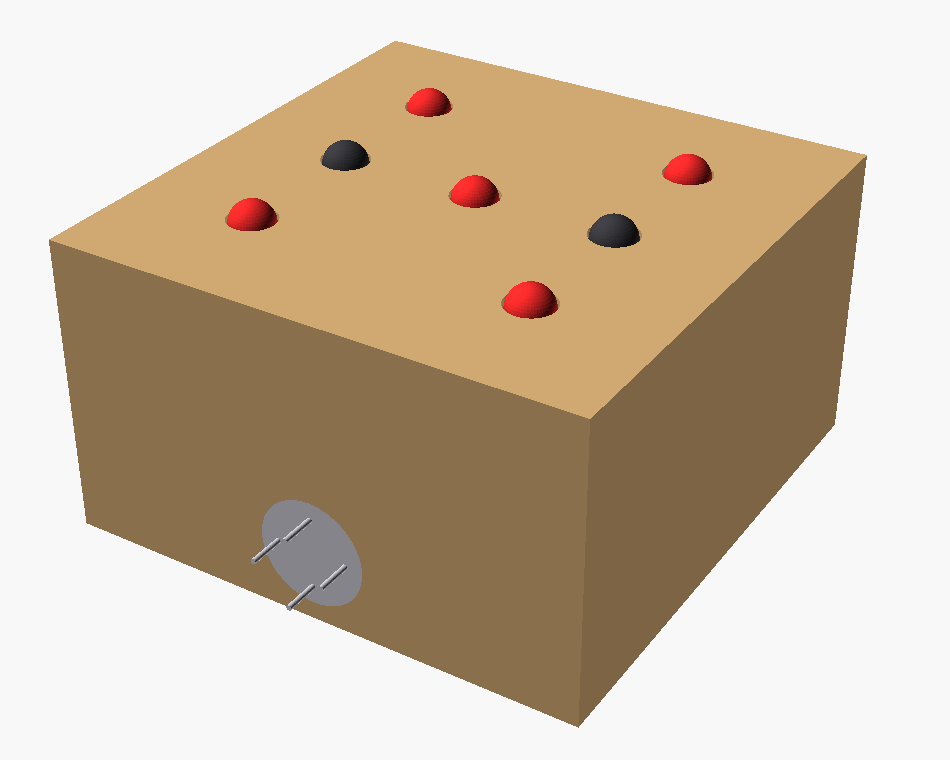
Make It Easier
- Ages 5–7 (no electronics): Drill the seven holes, glue in coloured beads or paint the pips, and you’ve made a giant wooden die. All the woodworking, none of the wiring.
Make It Harder
- Ages 8–11 (solder the kit): Assemble a 555 + 4017 dice kit into the block — proper soldering practice and a working electronic die with no code.
- Ages 11+ (program it): Drive the LEDs from an Arduino. Write the roll, add a spin animation, then push further — two dice at once, a score counter, a little victory sound.
Troubleshooting
| Symptom | Fix |
|---|---|
| Nothing lights | Check coin-cell orientation and holder contacts; confirm the button is wired across the right pins. |
| One pip never lights | That LED is in backwards (LEDs are one-way) or has a cold solder joint — reflow it. |
| Always shows the same number | The “spin” clock isn’t running — check the 555 timing parts, or that your code actually re-rolls on each press. |
What Your Kid Learns
Randomness is buildable (chip cycling or code), mapping data to a display (binary-to-pattern thinking), soldering (kit path), variables and random() and loops (code path)