
This page contains affiliate links. If you purchase through these links, we may earn a small commission at no extra cost to you. Full disclosure.
Buzz-Wire Steady-Hand Game
The classic fairground steady-hand game built on a single board. Thread a wire loop along a bent course without touching — the buzzer catches every wobble. The perfect first circuit.
Jump to Materials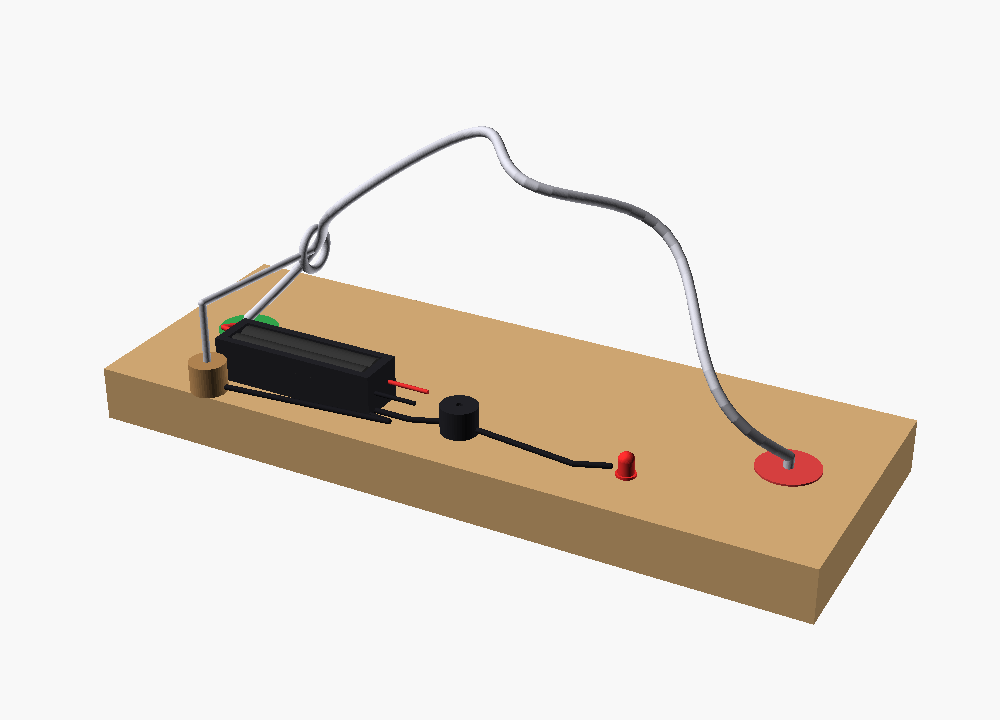
The classic fairground steady-hand game built on a single board. Thread a wire loop along a bent course without touching — the buzzer catches every wobble. The perfect first circuit.
Circuits are loops, switches are just contact, conductors vs insulators, fine motor control
Light supervision — ages 10+ can mostly self-direct
Materials List
Tools Needed
Adults handle drilling, wire-cutting, and any soldering (with ventilation). Kids do mounting, wiring-by-clip, testing, and decorating. Only use the 3 V battery pack — never mains power. Loose AA batteries and small parts are a choking hazard for under-3s.
What You’re Building
The classic fairground steady-hand game, built on a single board. A bent wire runs from start to finish; the player threads a wire loop along it without letting the two touch. The moment they do, the loop closes a circuit and the buzzer sounds.
The whole project is one simple circuit — and the “switch” is just two pieces of metal touching by accident. Kids see cause and effect instantly, with no code and no mystery.
Part of the One-Board Builds series — one board, no joinery, one real circuit.
The Circuit
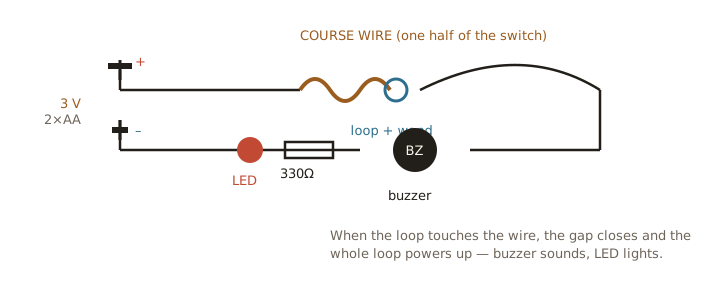
When the loop touches the course wire, the gap closes and the whole loop powers up — buzzer sounds, LED lights. That’s it. One circuit, one concept.
Step-by-Step Instructions
Step 1: Cut & Mark the Board
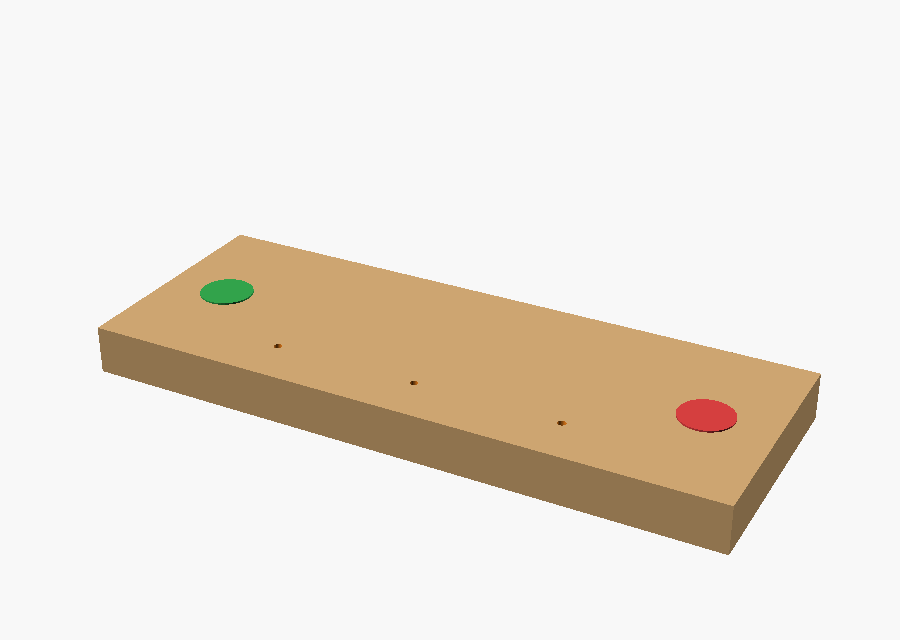
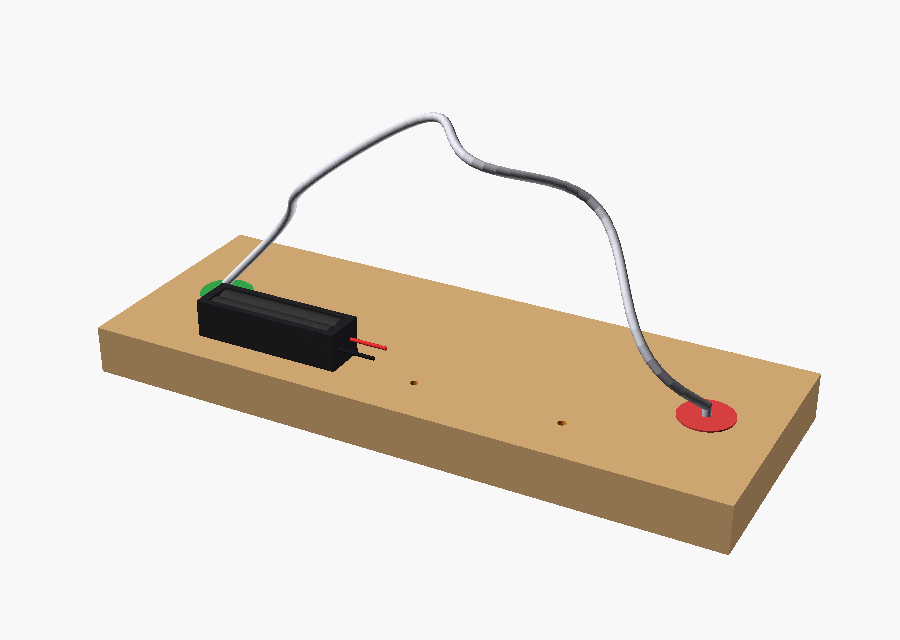
One 1×4 pine offcut (about 240 × 90 mm) is the whole base — no joinery. Sand the edges so there are no splinters, then mark two dots for the wire posts and three for the parts. Paint a green START pad and a red FINISH pad — this is the kid’s job.
Step 2: Bend & Plant the Course Wire
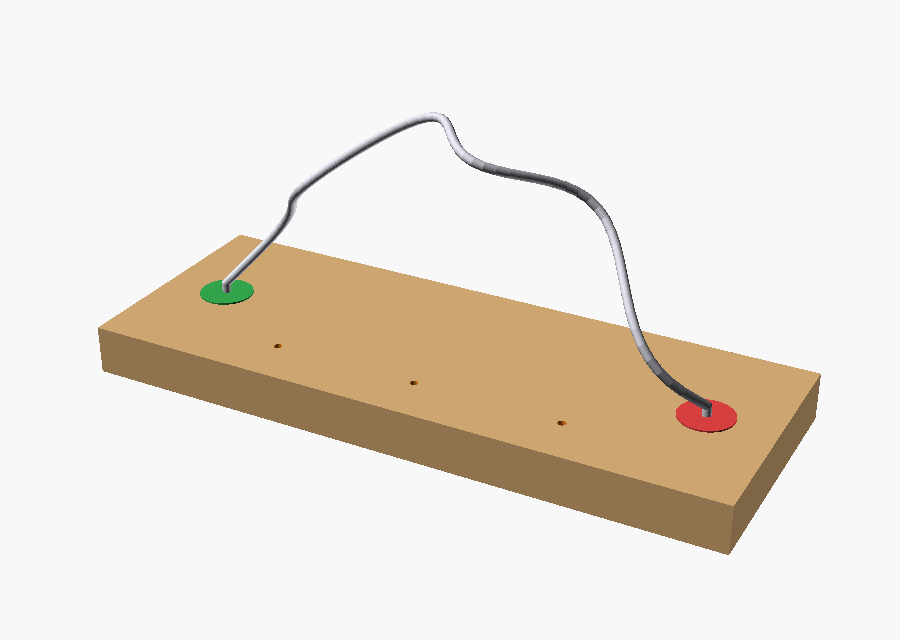
Bend a length of bare steel wire into a lazy arch with a few wiggles — the wobblier the path, the harder the game. Push both ends into the two holes and secure with a dab of glue. It must be uncoated metal, or the circuit can’t complete.
Step 3: Mount the Battery Holder
Screw or glue the 2×AA holder to the board. Two AAs give a safe 3 volts — plenty for a buzzer and an LED, and nothing that can hurt little hands.
Step 4: Add the Buzzer & LED
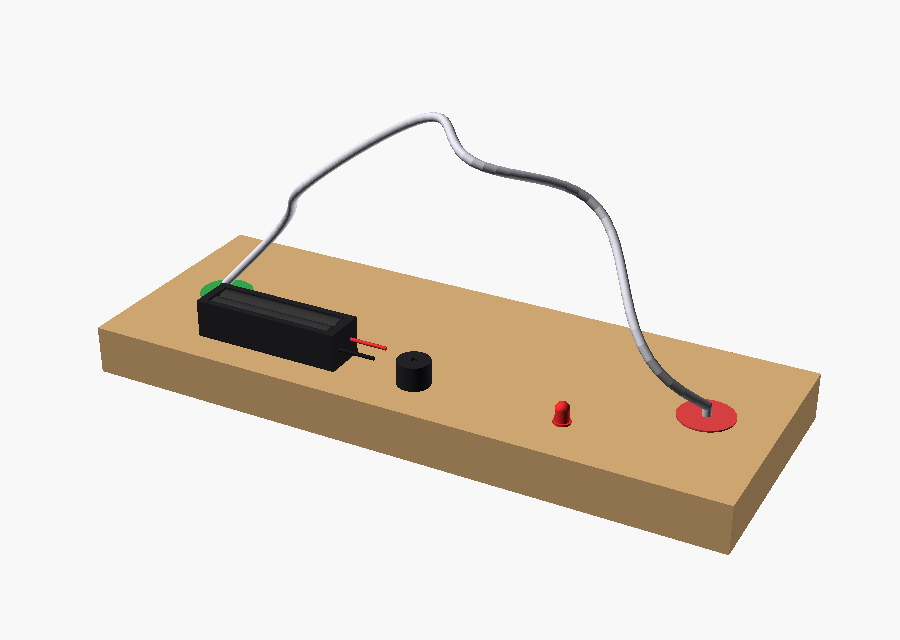
Seat the buzzer in the middle and push the LED (with its resistor) into its hole. These are the two things that react when a player slips.
Step 5: Wire the Circuit
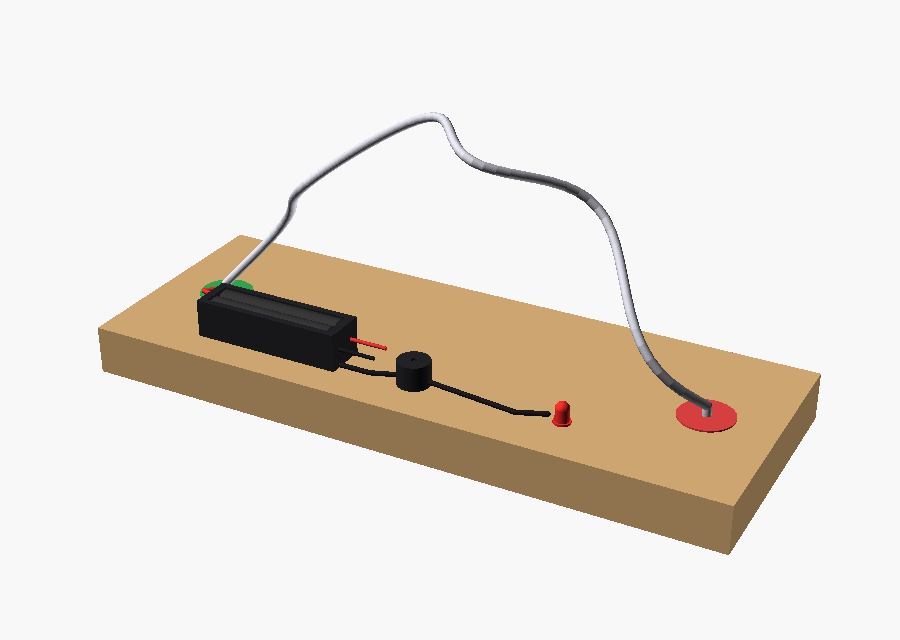
Connect it as a single loop: battery → course wire, and battery → buzzer → LED → the wand. Youngest builders can twist-and-tape; age 8+ can solder. Leave the wand lead long and flexible.
Step 6: Make the Wand & Test
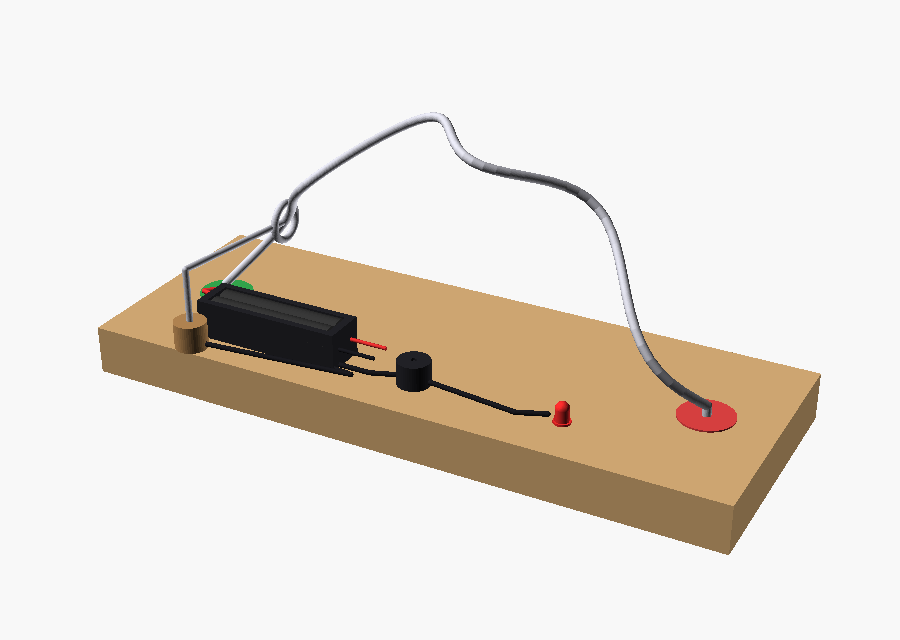
Bend a small loop on the end of a stiff wire, slip it over the course, and add a little wood handle. Touch the loop to the wire — buzz! Start at green, finish at red without a sound to win.
Make It Easier
- Ages 5–7 (no-solder): Skip the LED and use alligator-clip leads — just battery, buzzer, course wire, and loop, all twisted or clipped. A grown-up bends the wire; the child wires and decorates.
Make It Harder
- Ages 8–11: Solder a tidy circuit, add the LED, and make the course wickedly wiggly. Add a second “practice” lane with gentler bends.
- Ages 11+: Swap the buzzer for a microcontroller that counts touches, times a clean run, or plays a little defeat tune. Now it’s a programming project too.
Troubleshooting
| Symptom | Fix |
|---|---|
| Nothing happens on contact | Course wire is coated/painted, a connection is loose, or the battery is backwards. Test the buzzer straight across the battery first. |
| Buzzes constantly | Two wires are touching where they shouldn’t — separate the leads and check the loop isn’t resting on the course. |
| Weak or no sound | Tired batteries, or you’ve used a passive buzzer — swap in an active one. |
What Your Kid Learns
Circuits are loops, switches are just contact, conductors vs insulators, fine motor control